Showing posts with label skirt. Show all posts

Friday 28 February 2014

Tablecloth skirt

I bought this table cloth from a charity shop a week or so ago for £3.50.  More than perhaps I would like to spend on a tablecloth 2nd hand but I couldn't leave it behind!  I love those yellow flowers too much!  I knew immediately what I would be doing with it so as soon as I had a spare evening I got going!


 To start I folded the circular cloth into half and repeated until it was folded in 8ths.  I measured how long I would like the skirt to be and then cut the point off so the cloth equaled to this length allowing 1.5cm seam allowance.  This cloth was already edged at what will become the bottom of the skirt so no extra seam allowance needed here!

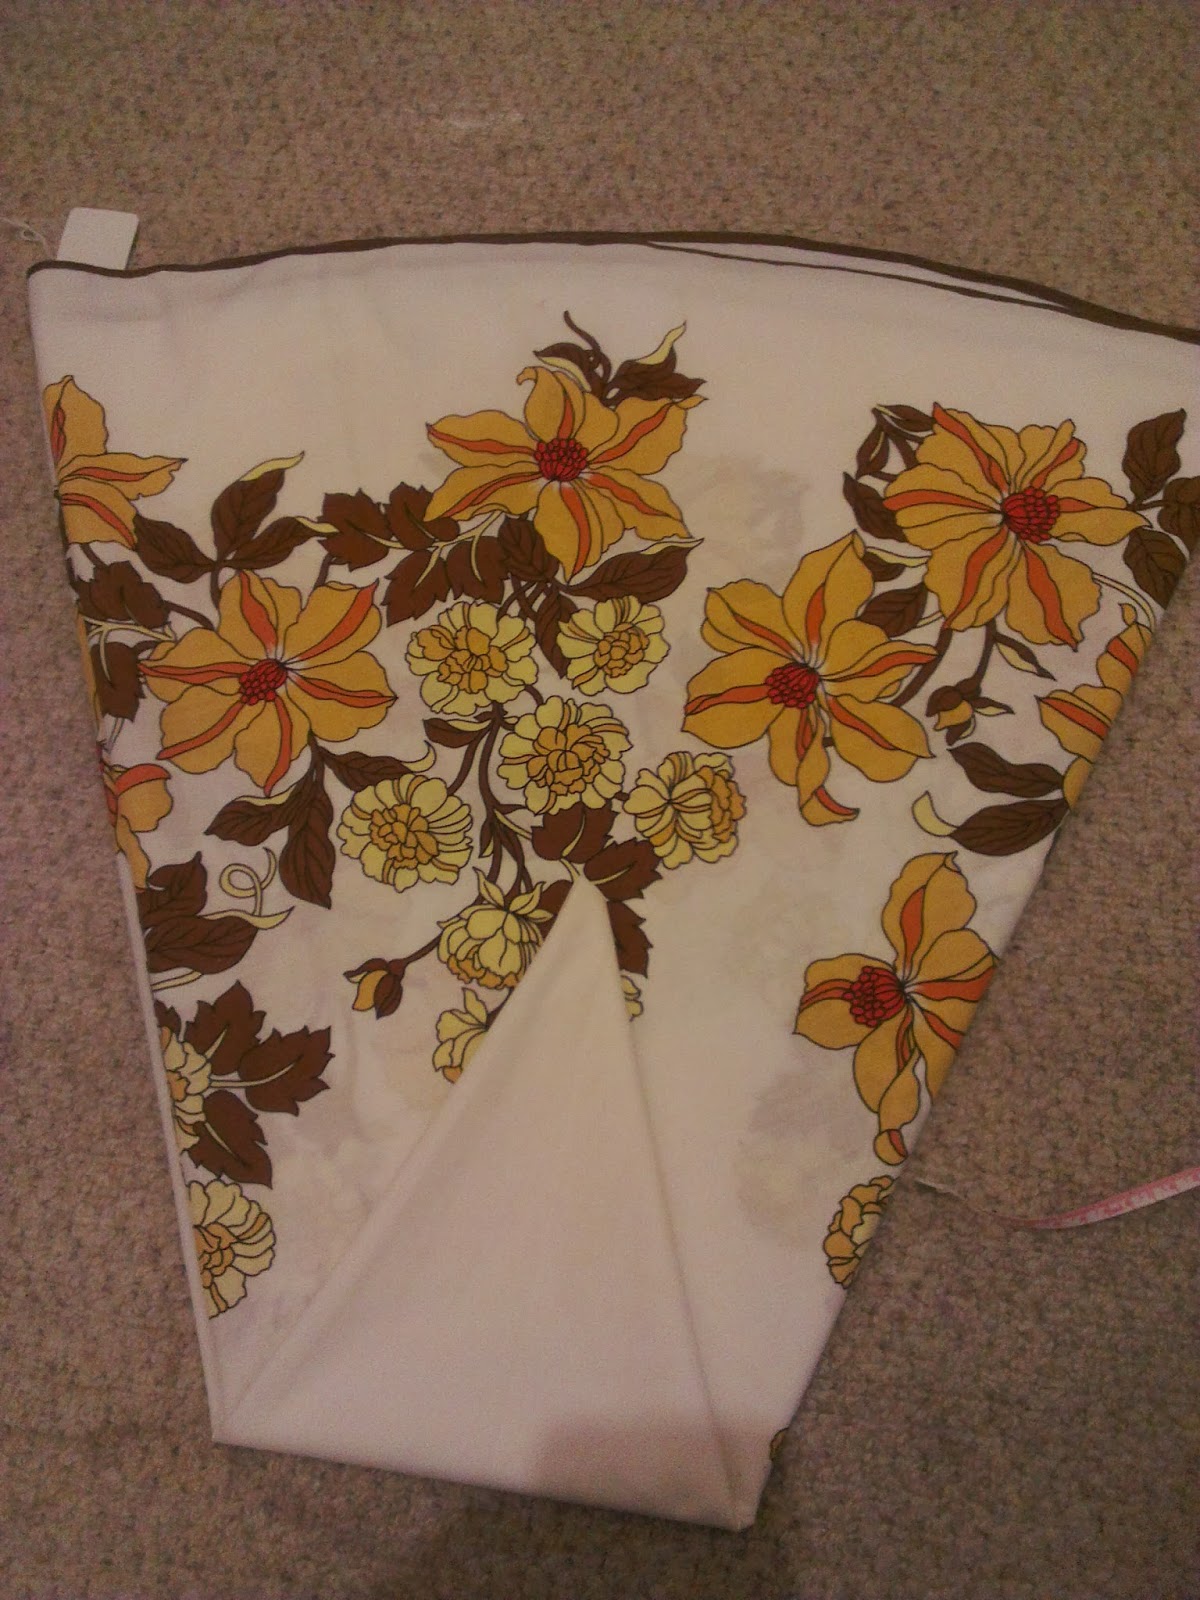
Now I have a large circular piece with a whole in the middle.  I cut where I wanted the back seam to be and then measured the length of the fabric.  It was 80cm and I needed to half it.


I set about pinning my gathers.  I used 8cm per gather and folded it so that the 8cm became 4cm therefore by the time I had finished my skirt is half the length of when I started.  I used the same gathering as I did here so click on the link to get the full tutorial.  Once you have pinned your pleats run a line of straight stitching to hold them in place and press firmly.

 I then overlocked the raw edges which can be done with a zig zag stitch if you don't have an overlocker and ran a straight stitch down the back seam to join the skirt.  Laying the zip onto the seam I stitched that in and then opened the seam with an unpicker where the zip will do up.
 Now I added a bias binding waist band.  This can be made as thick or thin as you like - I really liked the little band on this skirt so I went for it.
 And here you have it the finished skirt.
 And the skirt on me . . .
 And with a little shake of the hips you see the full swing-y-ness of this skirt and the reason why I was so happy to find such a lovely circular fabric.  This is a skirt to go dancing in!  Today it shall simply accompany me to a lunch date with a friend but one day I shall take it for a proper spin!

I'm pretty happy with the result - 1.5hours work(if you can call it that as for me sewing is an absolute pleasure) and £3.50 later I have a fab new skirt - plus I can say - Yes I did make that :)
Have a great weekend!
x

Friday 25 October 2013

Pillow case to skirt


My love of making clothes/bags/gifts or anything really out of other abandoned things came more from a love of beautiful and unusual fabric than anything else.  My passion grew into a desire to see less waste and a choice to try to dress in more ethically sourced clothes.  On a tight budget and working for a small agency having just returned to the UK from a few years away I began to find treasures tucked in charity shops.  I realized what great outfits could be conjured up from a scrap of fabric, an old bed sheet or a discarded dress being sold off extra cheap because of the gaping hole in the shoulder.  And so my love of colours, sewing, fabric and clothes grew – and I spent many a weekend  nestled away cutting, pinning, gathering and sewing to make all sorts of creations.

So today I’m setting you a challenge.  Delve into the depths of your linen cupboard, head to your nans to rummage through hers or go on a charity shop/jumble/car boot sale rummage in search of the funkiest pillow case you can find.  I usually find you can pick one up for about 50p sometimes a bit more for a pair.   Today I found a matching pair for 60p – bargain!

And out of this you’re going to make a cute, gathered skirt!

What you need . . .
  • A pillowcase (2 for sizes more than UK14) in a pattern you love
  • A plain pillowcase or piece of fabric of similar size for the waistband (because I am using a pair I used the other side of the pillowcase)
  • A ribbon or strip of fabric that is about 15cm wide and 30cm longer than your hip measurement
  • Dressmakers pins
  • A sewing machine or a needle
  • Thread
  • An un-picker (not essential but helpful in any task involving salvaging fabric)

SIZING
Measure around your hips (or waist if you prefer to wear your skirts there)
Take that number and make a note of it.  We will call that number X.  Now follow the formula below.
X ÷2 = Y
Y + X = T or the total length of fabric you will need
T ÷ 2 = F or the length your two pieces from step 2 need to be.

So let's go . . .

1. U npick the stitches that are holding the pillowcase together and pull
out all loose threads. Trim the edges that are unusable from
 previous stitching but try to only cut off what you have to.


4. Now set your machine (if you’re using one) so it is set to sew the longest stitch.  Using this setting sew along the top of the fabric two parallel lines ensuring they do not touch and are around 1 cm apart.  Ensure you leave threads at the start and end of your line of stitching that you will be able to get hold of. 


6. Now you have your gathering you need to take the measurement you took earlier-figure X - and ease out the fabric to equal that measurement.  Leave 4cm extra as this is where you will sew your seam.  Use your fingers to spread the gathering out so that it is even and the correct size for you.


9.  Now choose your fastening – I have done mine with a tie at the top to finish and a zip but you can add a button, zip or hook and eye – whichever suits you.  If you choose a tie just extend the waistband to a length that means you can tie a cute bow.
Take the open seam and put right sides together – do a straight stitch right up to where your fastening is.  If you have put in a zip this is where you would add it.  I will add a tutorial on how to insert a zip next week.


So there you have it a skirt sewn from a pair of pillow cases for only 60p!  Plus a happy day spent sewing!


Next week I'll do a tutorial on how to add in a zip so that if anyone chose this to be their fastening there won't be any confusion!

Happy sewing :)
x


Wednesday 28 August 2013

Productivity!

Today has turned into a pretty good day.  I had some time off just for me - yay - and last night was thinking I wouldn't be able to fit everything in as well as spend some decent time up in the attic sewing.  I woke up this morning and decided to just try and do everything.

  Out the house by 8am for a quick run (quick as in short not really very fast at all I'm afraid) and home again to clean the house and shower.  I sorted what felt like a mountain of laundry and jumped on my bike to pop round the charity shops.  Surprisingly this mission was due to a lack of clothes that fit me these days rather than my usual fabric hunt so the hunt for jeans began.  4 shops later and I had 2 new to me pairs of jeans and 2  tops - quite enough for one day.  Looking at what I have bought reminds me that there is really no reason not to get stuff 2nd hand.  It's ethical, cheap and you find some fabulous things.  This is one outfit I bought today which in total cost me £7 - I mean really! I have to admit I'm so happy I have a really fabulous pair of flares again!  I love them so much more than skinny jeans!


After that I picked up some food shopping and popped into Akrams Oriental Supermarket to stock up on spices and Tabasco and I wobbled home on my bicycle - just a tad over loaded!

Lunch at home with fresh rocket snipped from my garden today left me feeling super duper happy that I am actually able to eat something that I have grown!  Which led me perfectly to heading upstairs to nestle myself away in the attic and sew.

The sunshine has been shining so brightly today and as I was sewing it poured in through the slanted windows - combine that with a gentle breeze and how could anyone not be inspired to create lovely things.

I finished off a few projects that required completion and then turned my attention to some fabric I picked up a few weeks ago courtesy of my local Sue Ryder shop.  And this is what I made - a fun skirt with a simple smocked waist band.


 If you fancy making it just follow the directions for the kids summer dress.  Just replace the chest measurement with your waist/hips and make the skirt as long or short as you want it!  Follow this link to bring you to that tutorial!
http://daydreamsandsunshine.blogspot.co.uk/2013/07/summer-dress.html

So my conclusion is that sometimes the more you get done the more productive you become!  More busy definitely did make more time today!

Well happy sewing and as always post me some pics of your work and I'll share them on the Facebook page!

Sunday 30 June 2013

I love smocking!

Summer is here - for this weekend at least! And the arrival of sunshine means light flowing skirts and summer dresses.  Yay!
The simplest way to make one of these is using smocking which I LOVE!
It adds a professional, finished look while creating a good fit.  When I wear something I've made and used smocking people are the most surprised that I made it - yet it's so simple!

So how to smock . . .

You need a sewing machine and some shearing elastic ( usually 70p or there shouts).  You simply want to wind the elastic onto your bobbin taking care not to stretch the elastic.  This must be done by hand and not using the machines bobbin winder. 

Now use a standard cotton thread for the needle and thread the machine as usual.  This thread is going to show so choose an appropriate colour for your garment.

Now start sewing - you want to start with your skirt or dress already hemmed at the top and your seams complete along both sides.  So you should have a tube of fabric that seems a bit big for you.

Start about half a cm from the top and keep sewing round.  As you meet the line of stitching where you began move slightly down so you continue your stitching about a cm below the last line.
You can keep this going for as long as is required - a skirts waist band would be shorter and a dress would need a longer stretch of smocking.

  This should create a gathered effect as seen in the skirt I posted a photo of.
I LOVE the effect of it and think it is just so simple to learn and make.

So get practicing and in the week I'll post measurements and a full how to guide of a cute smocked summer dress - perfect for little ones and adults alike.

Who knows maybe the sun will last that long for all you UK readers :-)

Till next time - happy sewing!